Thanks to the digital color correction it is possible to obtain surprising results: it is even possible to simulate a night shot with images shot during the day. It is the so-called “day to night effect”, and we can achieve it with Kdenlive.
Shooting scenes at night can be a problem, especially for a filmmaker who doesn’t have a lot of money. In fact, good lighting is necessary to take good shots (which do not go jerky) during the night. It seems strange, because our eyes immediately get used to the moonlight. Unfortunately, cameras are not as sensitive. And sometimes, to illuminate a few meters of ground, you need a very powerful lamp. Of course, Stanley Kubrick shot “Barry Lyndon” without the aid of illuminators, only with natural light sources and candles. But it had a 400 ISO sensitive film which, like all films, could be pulled to an even higher sensitivity without too much noise in the image (something that cannot be done with digital, because the sensors are much more rigid). In addition, he had adapted a Zeiss lens with a relative aperture of 0.7 for his camera. And it is likely that we will not be able to get something like this. In fact, the Sony A7S camera has the ability to resume even night scenes in natural light without too much noise. But the camera body alone costs more than 2000 euros. So do we have to give up shooting those night scenes we had imagined? No, if we are willing to accept a result that perhaps will not be perfect, but that will still convince the spectators. Thanks to digital color correction, in fact, we can transform an image taken during the day into a sequence with classic dark blue tones of the night in an automatic way. So let’s try to understand what a night shot looks like: first of all, the highlights are blue: this is an optical effect, because our eyes are generally very sensitive to blue (technically, the sky during the day is purple, but we we see blue because we perceive blue more than purple). The other colors, red in particular, are quite desaturated: they are barely recognizable. Another important fact is the brightness: both the shadows and the midtones must be quite dark, and only the high lights appear with a fair brightness. But there is one detail: the objects closest to the camera are slightly brighter than the others. This is because the light emitted by each object dispersed in space, and therefore decreases as a function of distance. In our tutorial, we will try to take into account all these details. In addition, we also want to add an unrealistic detail: the starry sky. This is unreal because, and if you have ever tried to take real night shots you will have realized it, the stars are too weak to appear in the movie. In order to be able to shoot the stars, a very high exposure time is necessary, even a few seconds. In Full HD movies, however, the maximum exposure time is a fiftieth of a second: too little for the stars. Adding them digitally to the movie, however, will give greater credibility to the video: after all, viewers automatically associate the presence of the stars at night, and will therefore more easily accept the effect, without asking too much if it is really possible to shoot the starry sky with a simple amateur camera. As always, you can see the example video at the following address: https://www.youtube.com/watch?v=Qru3PH0IWBM
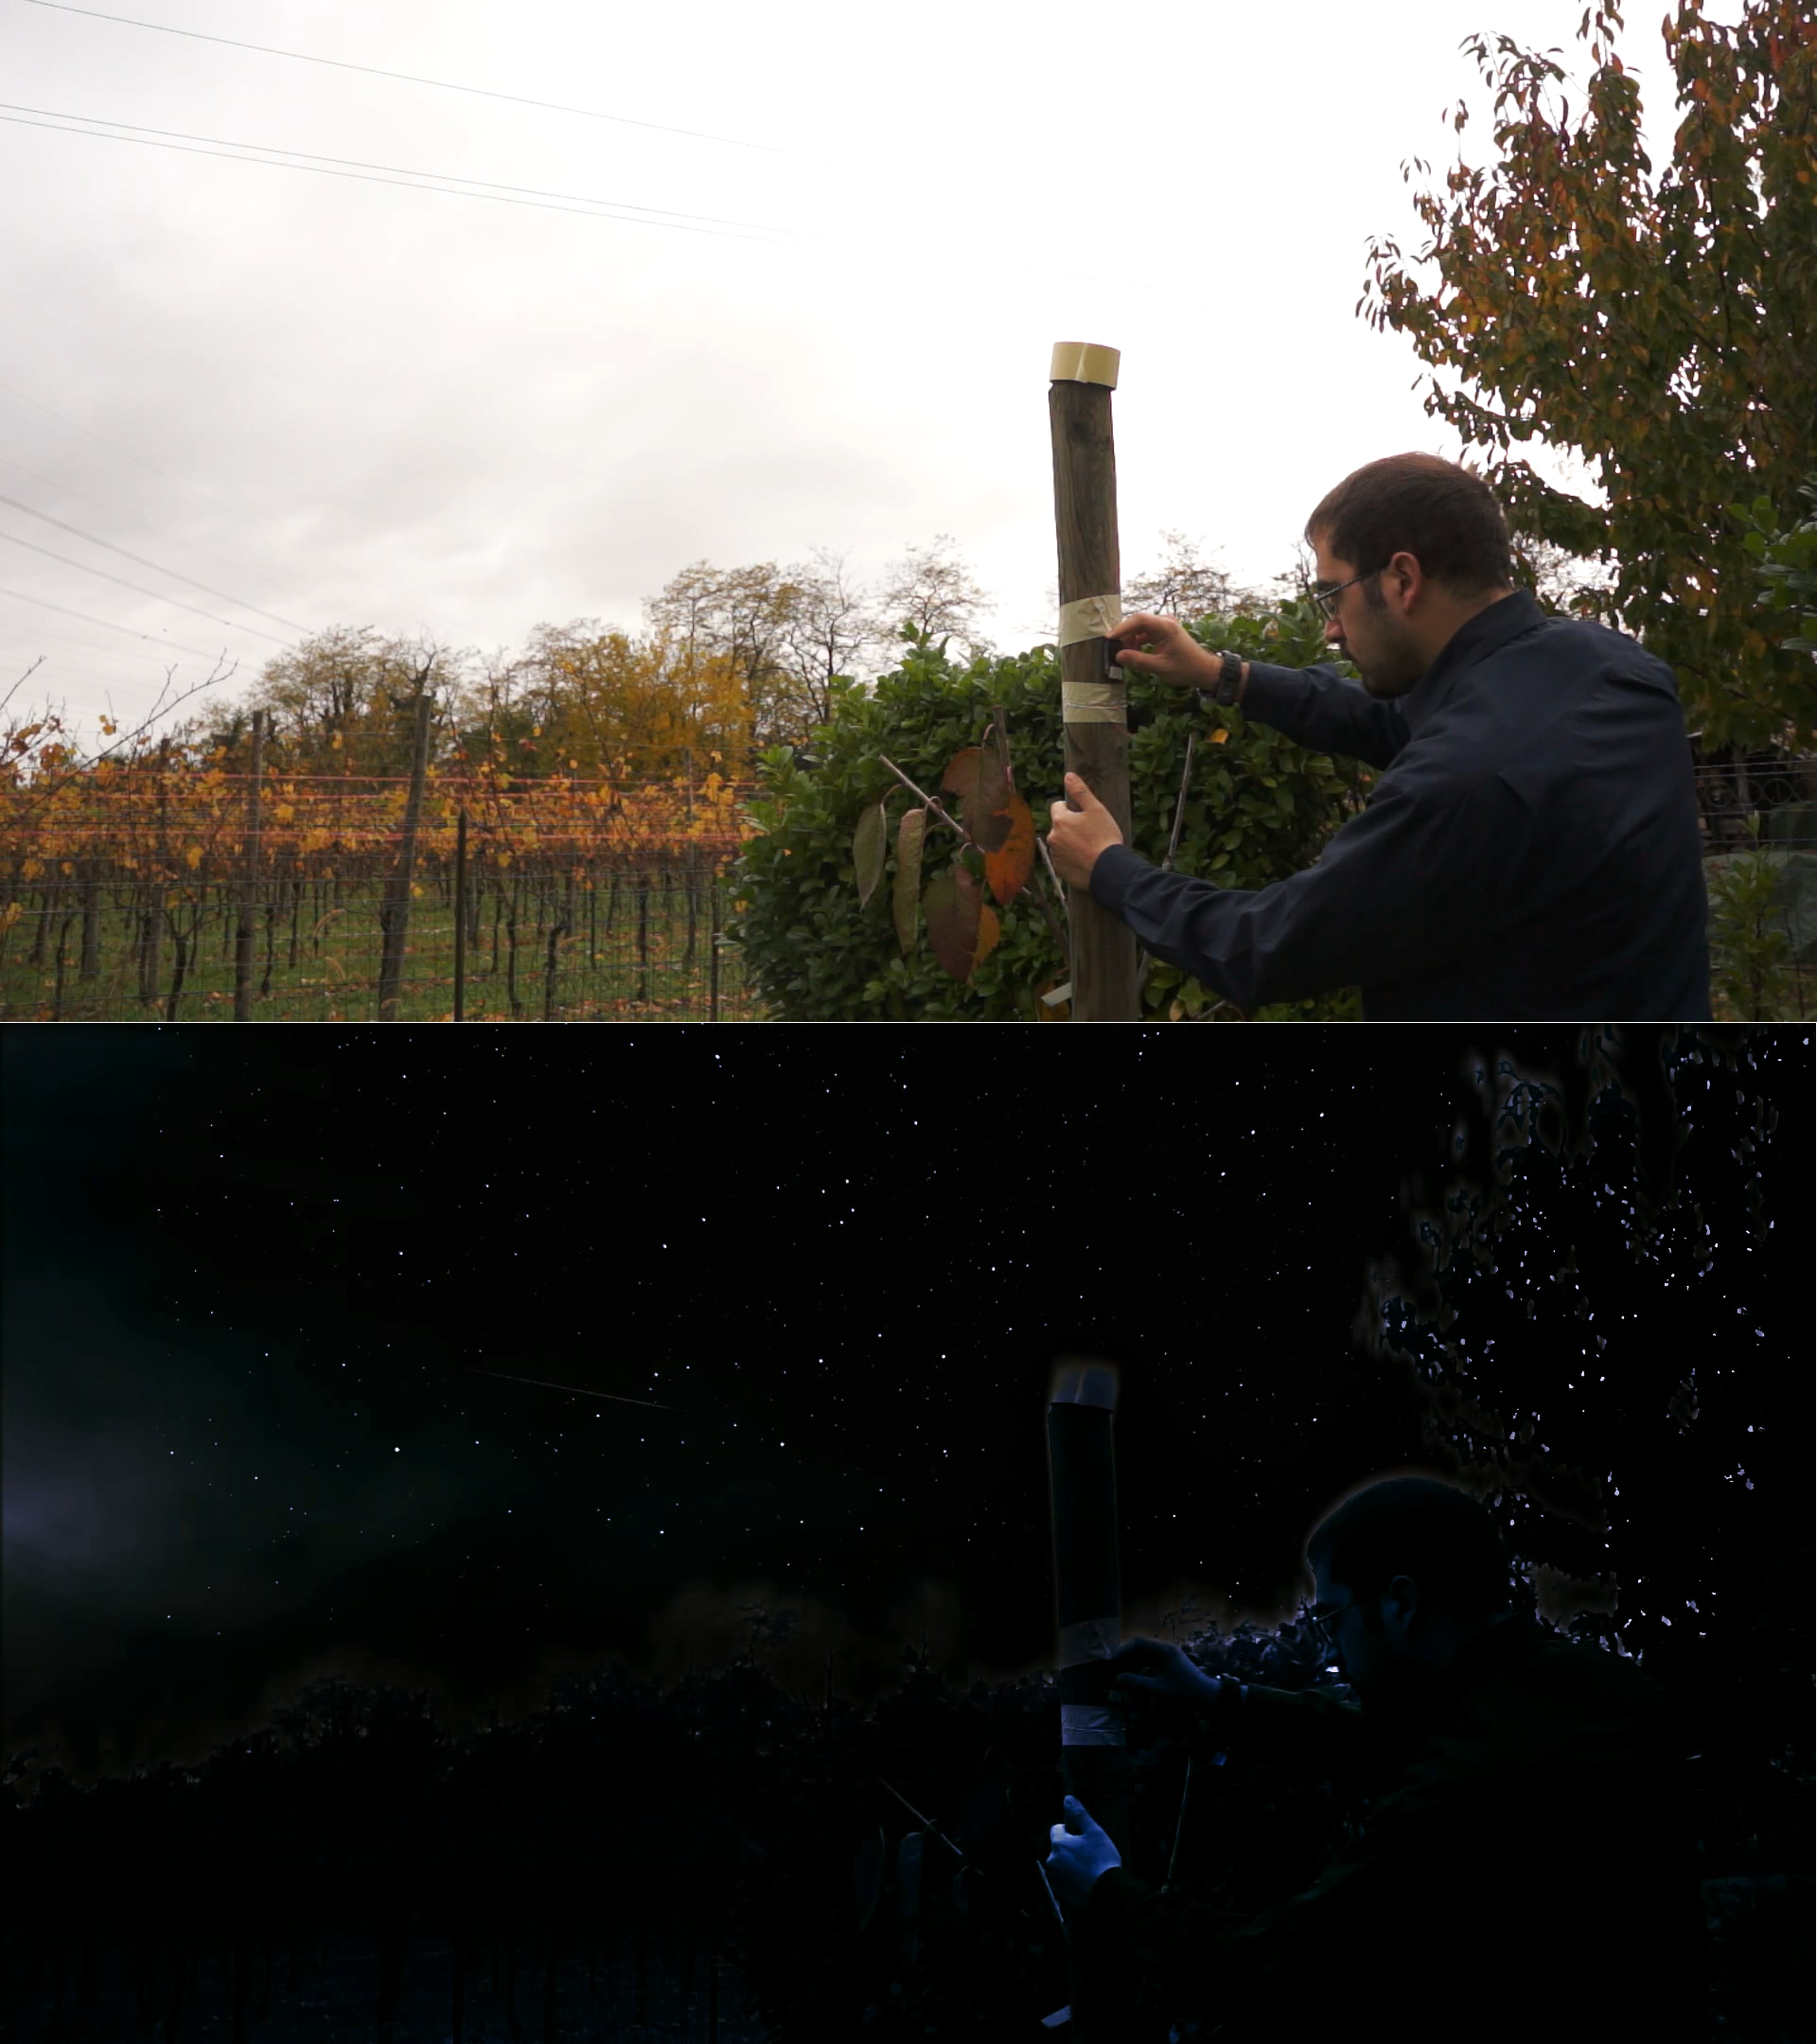 A frame before and after the effect
  The luminous glow that surrounds objects, like the Moon was a backlight
 The shooting conditions
The effect we present is not perfect: in professional productions, we proceed with the manual retouching of each frame (for example with CinePaint, the cinema version of GIMP). We, however, wanted to automate the whole procedure as much as possible. The rendering of the effect is better if the original images were taken on a cloudy day: too much Sun, in fact, makes some objects excessively bright, and provides strange shapes to the shadows (in general, noon is a good option because they are seen less shadows). The trees, then, create considerable difficulties: their leaves, moving, cause a slight glow that is difficult to eliminate. It is much simpler if the shot we took only includes buildings. Better, therefore, images taken in the city rather than in the countryside.
Prepare the original video clip
We place the clip and two color effects that will serve shortly
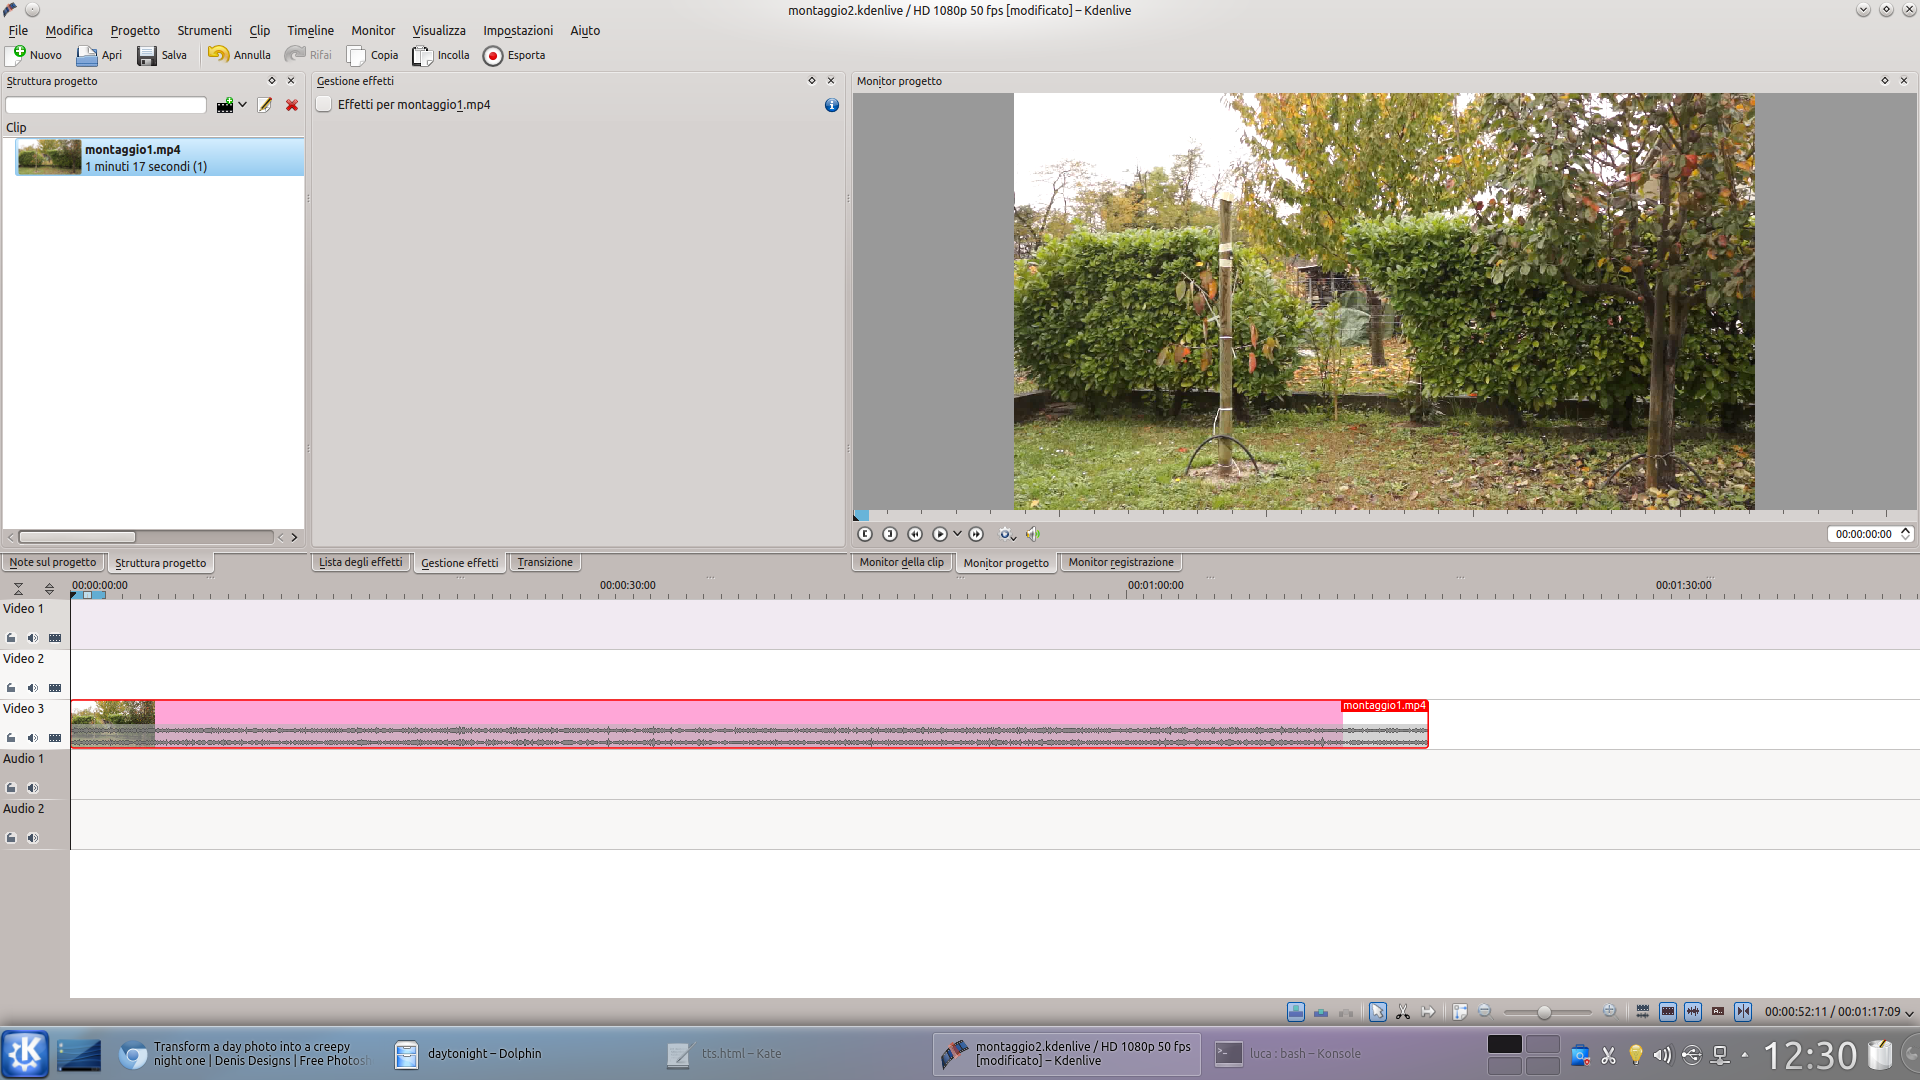 1 THE STARTING CLIP – The first thing to do is always upload the clip we want to turn into a night in a new Kdenlive project. Obviously, the clip must be inserted in one of the video tracks, for example Movie3 .
  2 TWO COLOR EFFECTS – Two effects must be applied to our clip: Saturation is Hue shift . We are not interested in their values at the moment: we can try to move the sliders but the result we see now is misleading.
 In shades of blue
Let’s give the image the classic night blue tone
 1 WE CHANGE THE LEVELS – Let’s add the effect to the clip Layers , set on the channel Luma by changing the incoming black level. A value close to 120 should be fine: we want to make the image darker without exaggerating.
 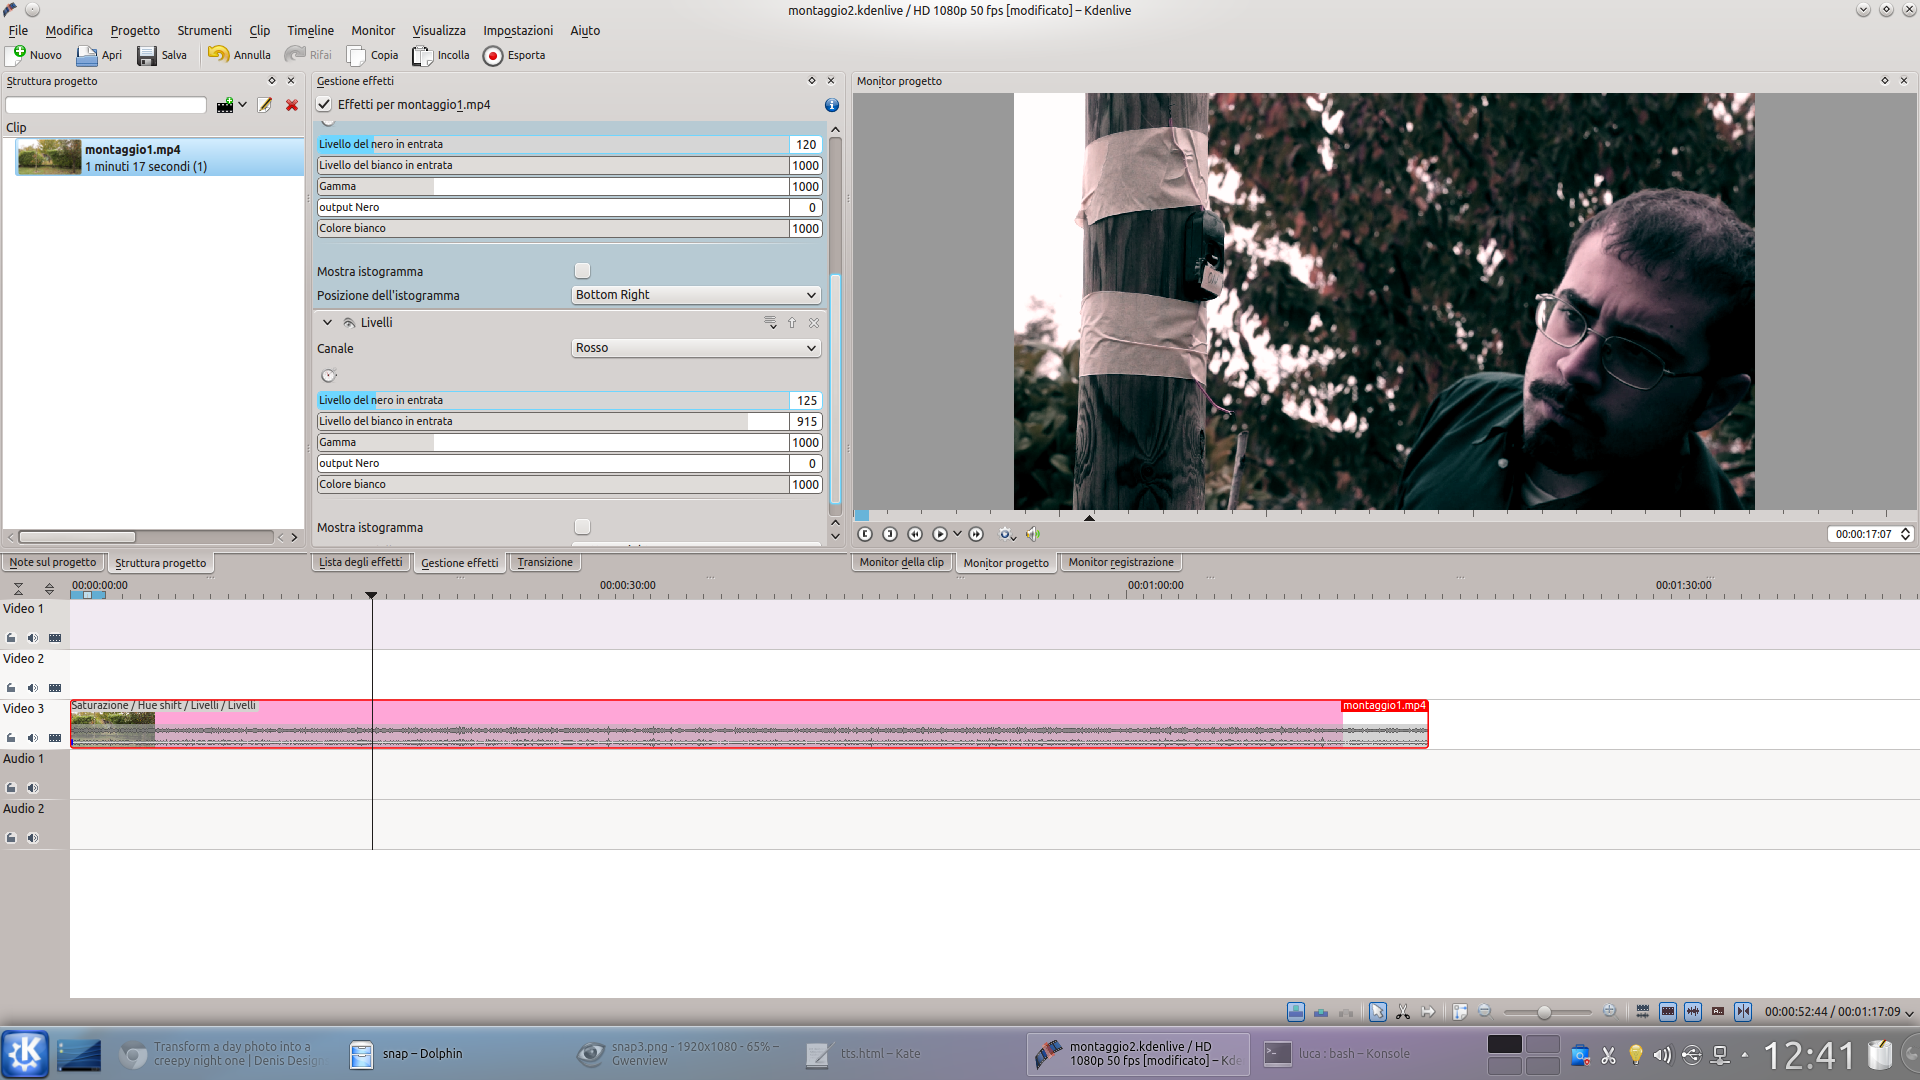 2 CHANGE THE RED – We need an additional effect Layers , who works on the canal Red . In this case, we want to increase the contrast of the red channel only, so we will bring the incoming black level around 125 and that of white a 915 .
 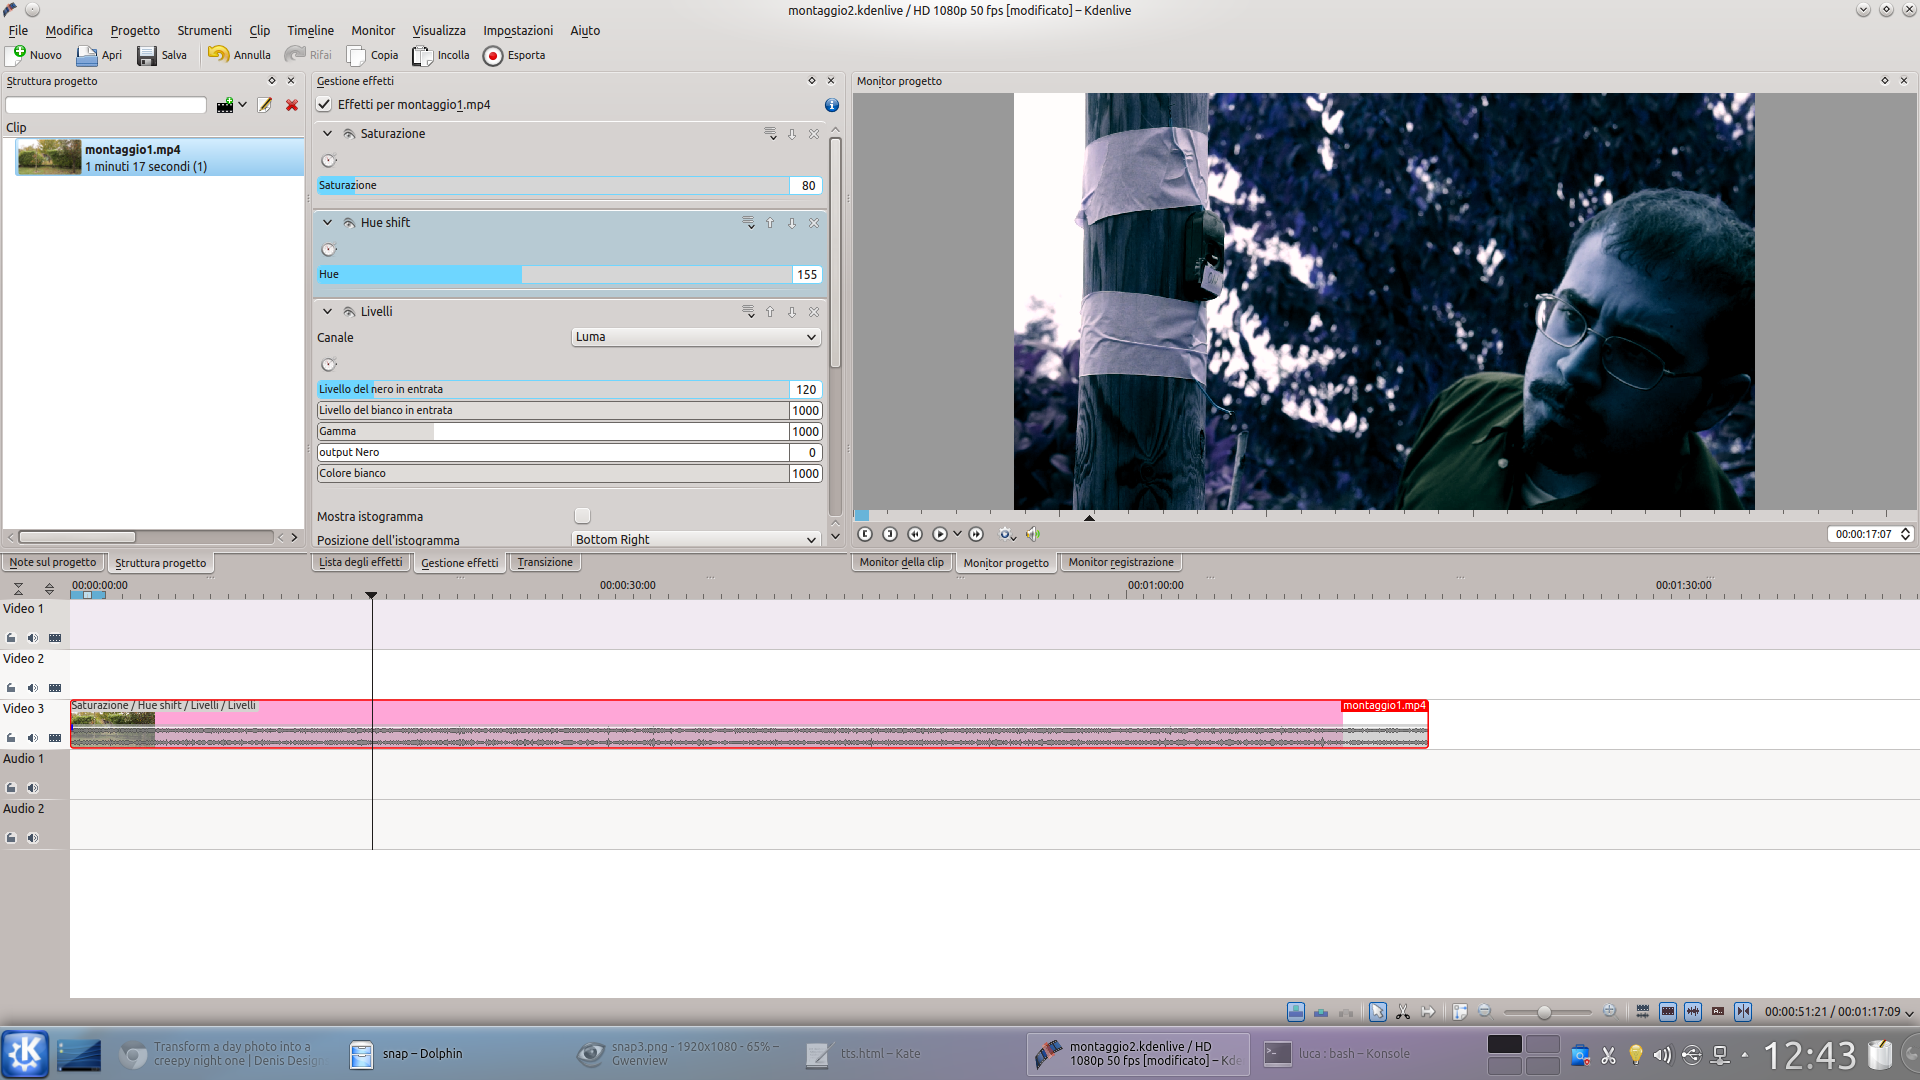 3 MOVING HUE – Now we can go back to the two effects Saturation is Hue Shift . Saturation must have a value less than 100, for example 80 it may be fine. Instead, the hue should be chosen to give the image a blue tone.
  4 FIRST RENDERING– The first stage of production is finished: the video already has the correct color tones, but is still too bright. For now, let’s render the current result in a high quality file (for example a 44000 kb / s MP4): this is what we will work on.
 We turn off the light, we turn on the stars
We insert the starry sky into the movie and make the image darker
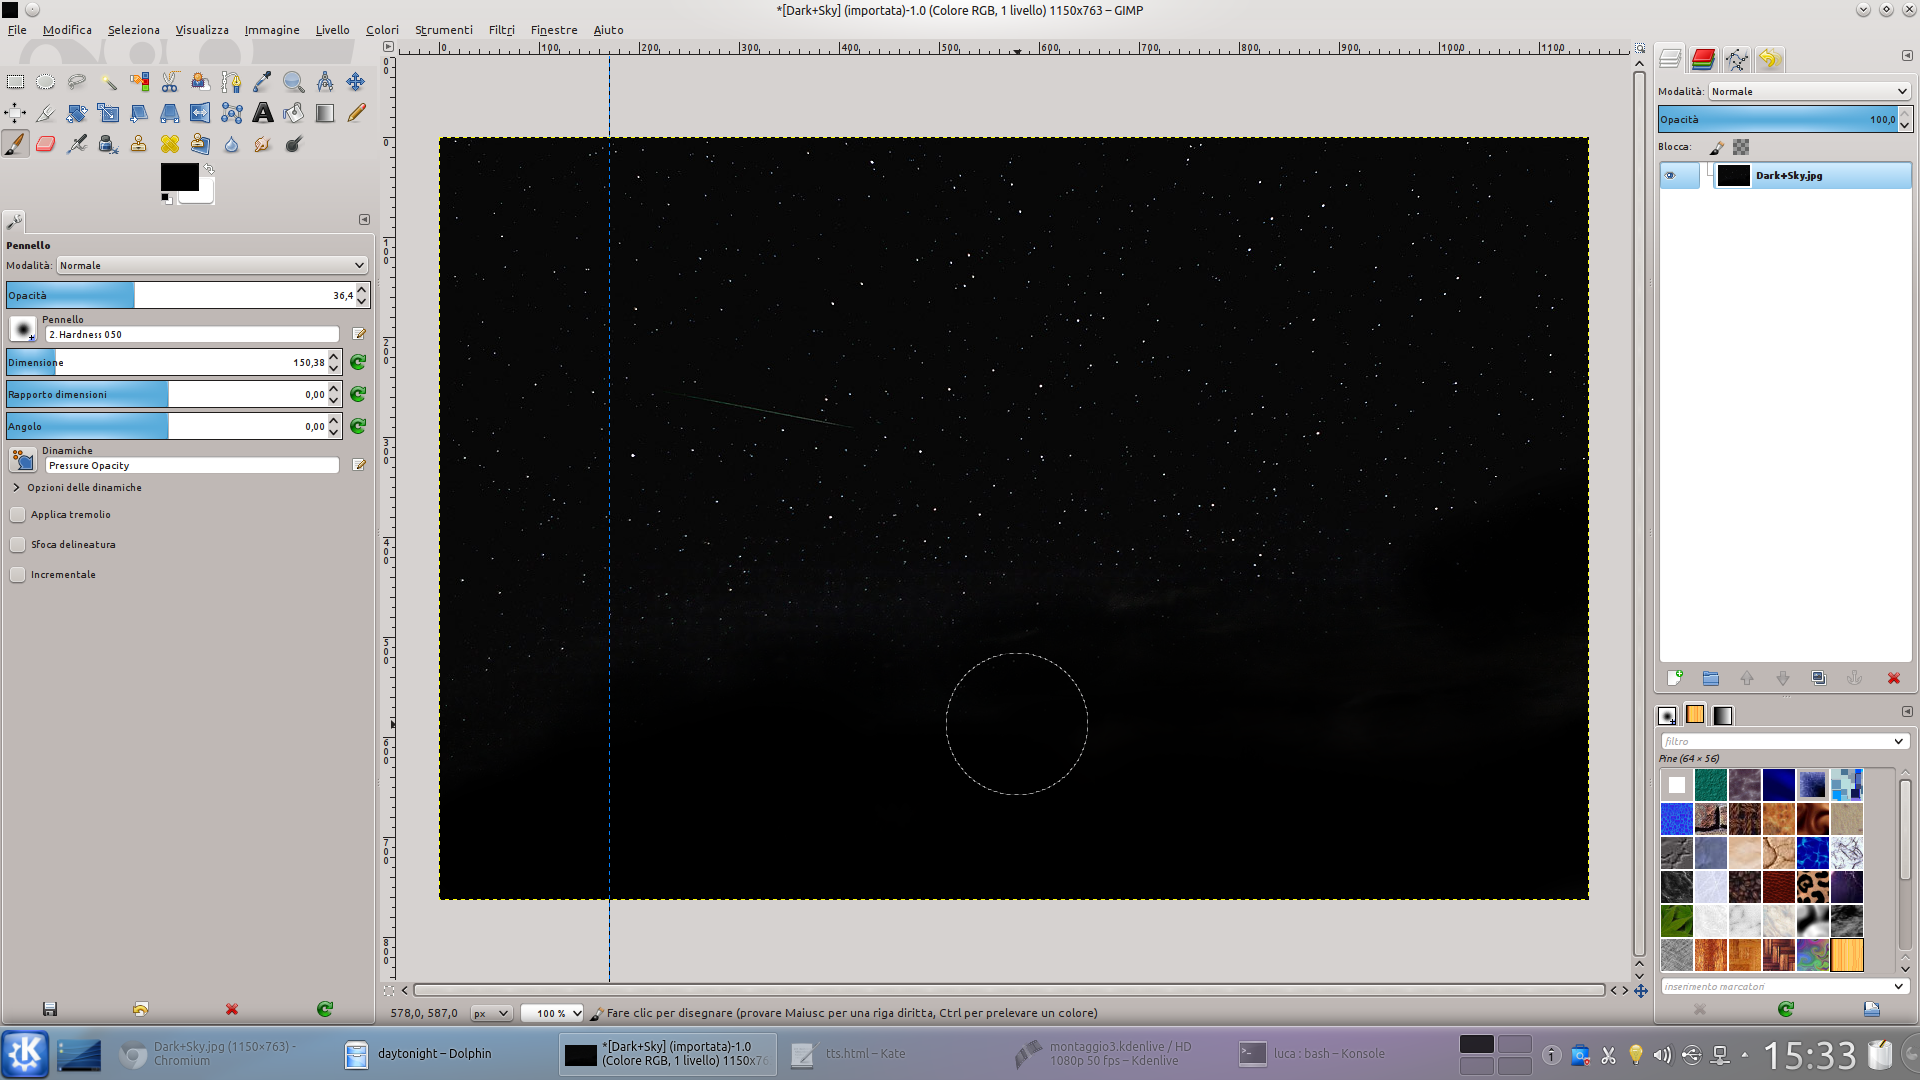 1 THE STARRY SKY – If we want to insert the image of a starry sky instead of the current sky, it will be important to prepare one: we can photograph a night sky and then correct the photo with GIMP if necessary.
 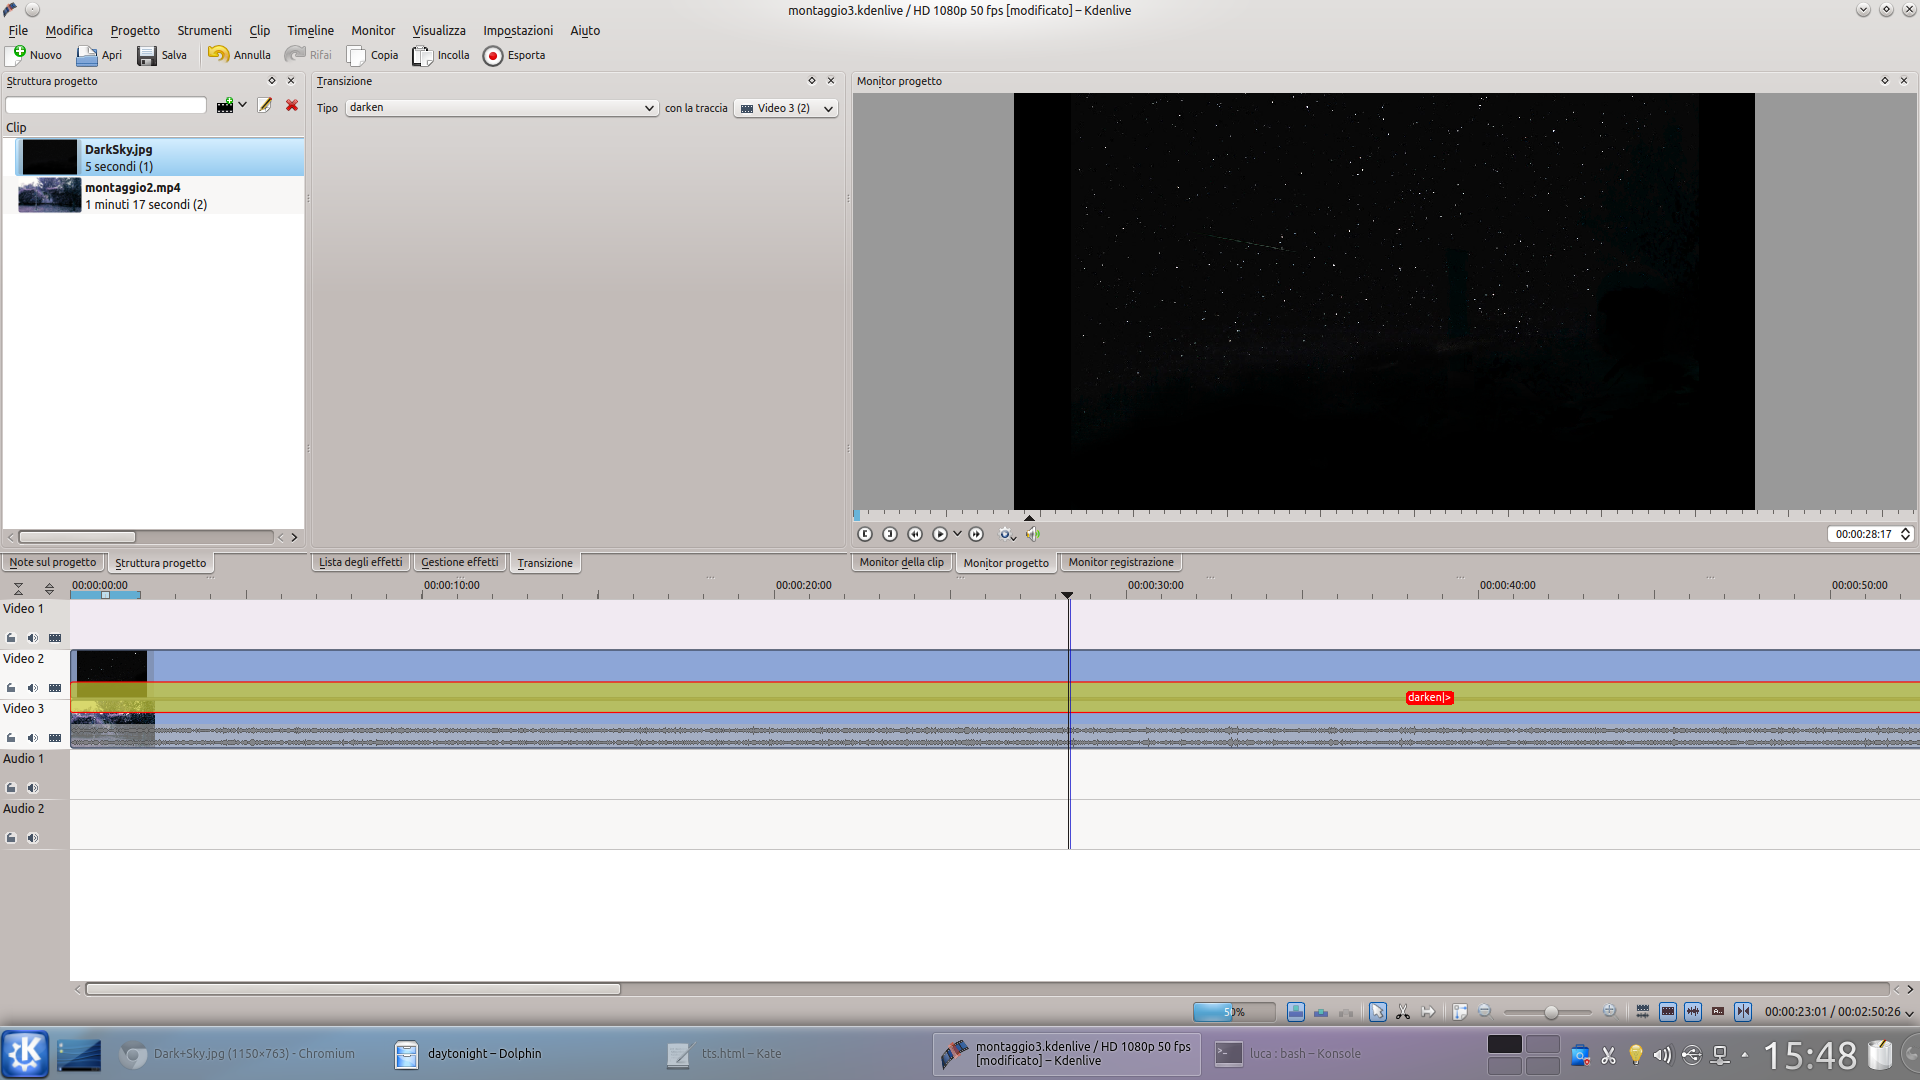 2 OUR TWO CLIPS – The next step is to create a new Kdenlive project with the image of the starry sky and the video clip rendered a little while ago: the sky must be positioned above the movie. For example, they can be placed respectively in Video2 is Movie3 .
  3 THE VIDEO AGAIN – A transition of type must be inserted between the two clips darken extended along their entire length. Then, in Video1 we insert the rendered movie a little while ago, applying a transition lighten for the duration of the movie itself.
 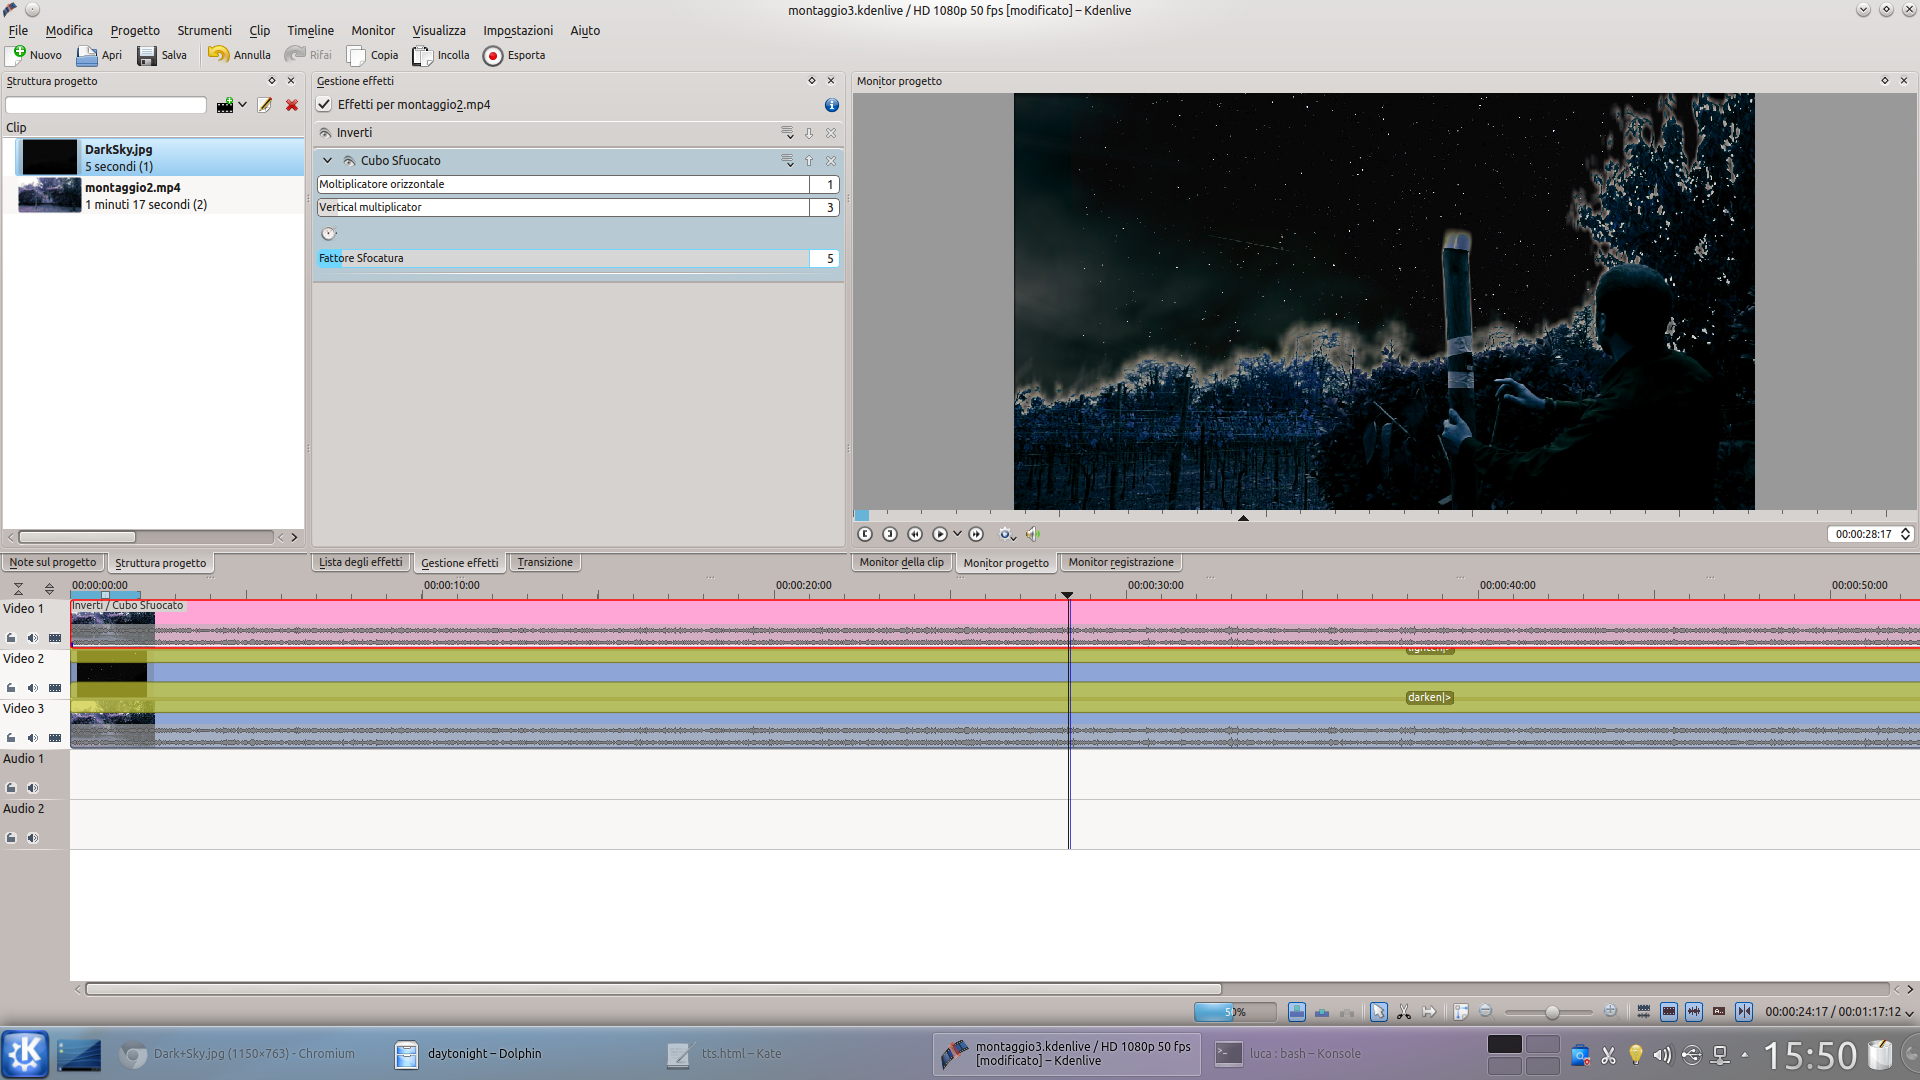 4 COLOR REVERSAL – We add to the track clip Video1 the effect Invert : now, the starry sky should be visible. We apply the effect to the same clip Blurred cube , with blur factor 5 is vertical multiplier equal to 3 little more (that horizontal to 1 ).
 Different brightness according to the distance
We use the rotoscope to give less distant objects less brightness
 1 A NEW VIDEO FILE – The result is already very close to what we want to achieve, but probably still too bright. So, we render the current project into a new high quality video file.
  2 A COMPOSITION – Now, let’s create a new project by inserting the newly created file: we have to load this movie both in the track Movie3 than in Video2 , overlapping the two identical clips with a transition Composite along their entire length.
  3 COLOR CURVES – On the track clip Video2 , apply the effect Bends . The effect should be set on the channel Luma , and the curve should be drawn so as to keep both the shadows and the midtones very low, but the highlights are high enough.
  4 ROTOSCOPE EFFECT – The result is fine for objects in the distance. Those in the foreground, on the other hand, should be as bright as the clip Movie3 . So let’s load an effect rotoscope on the track Video2 .
 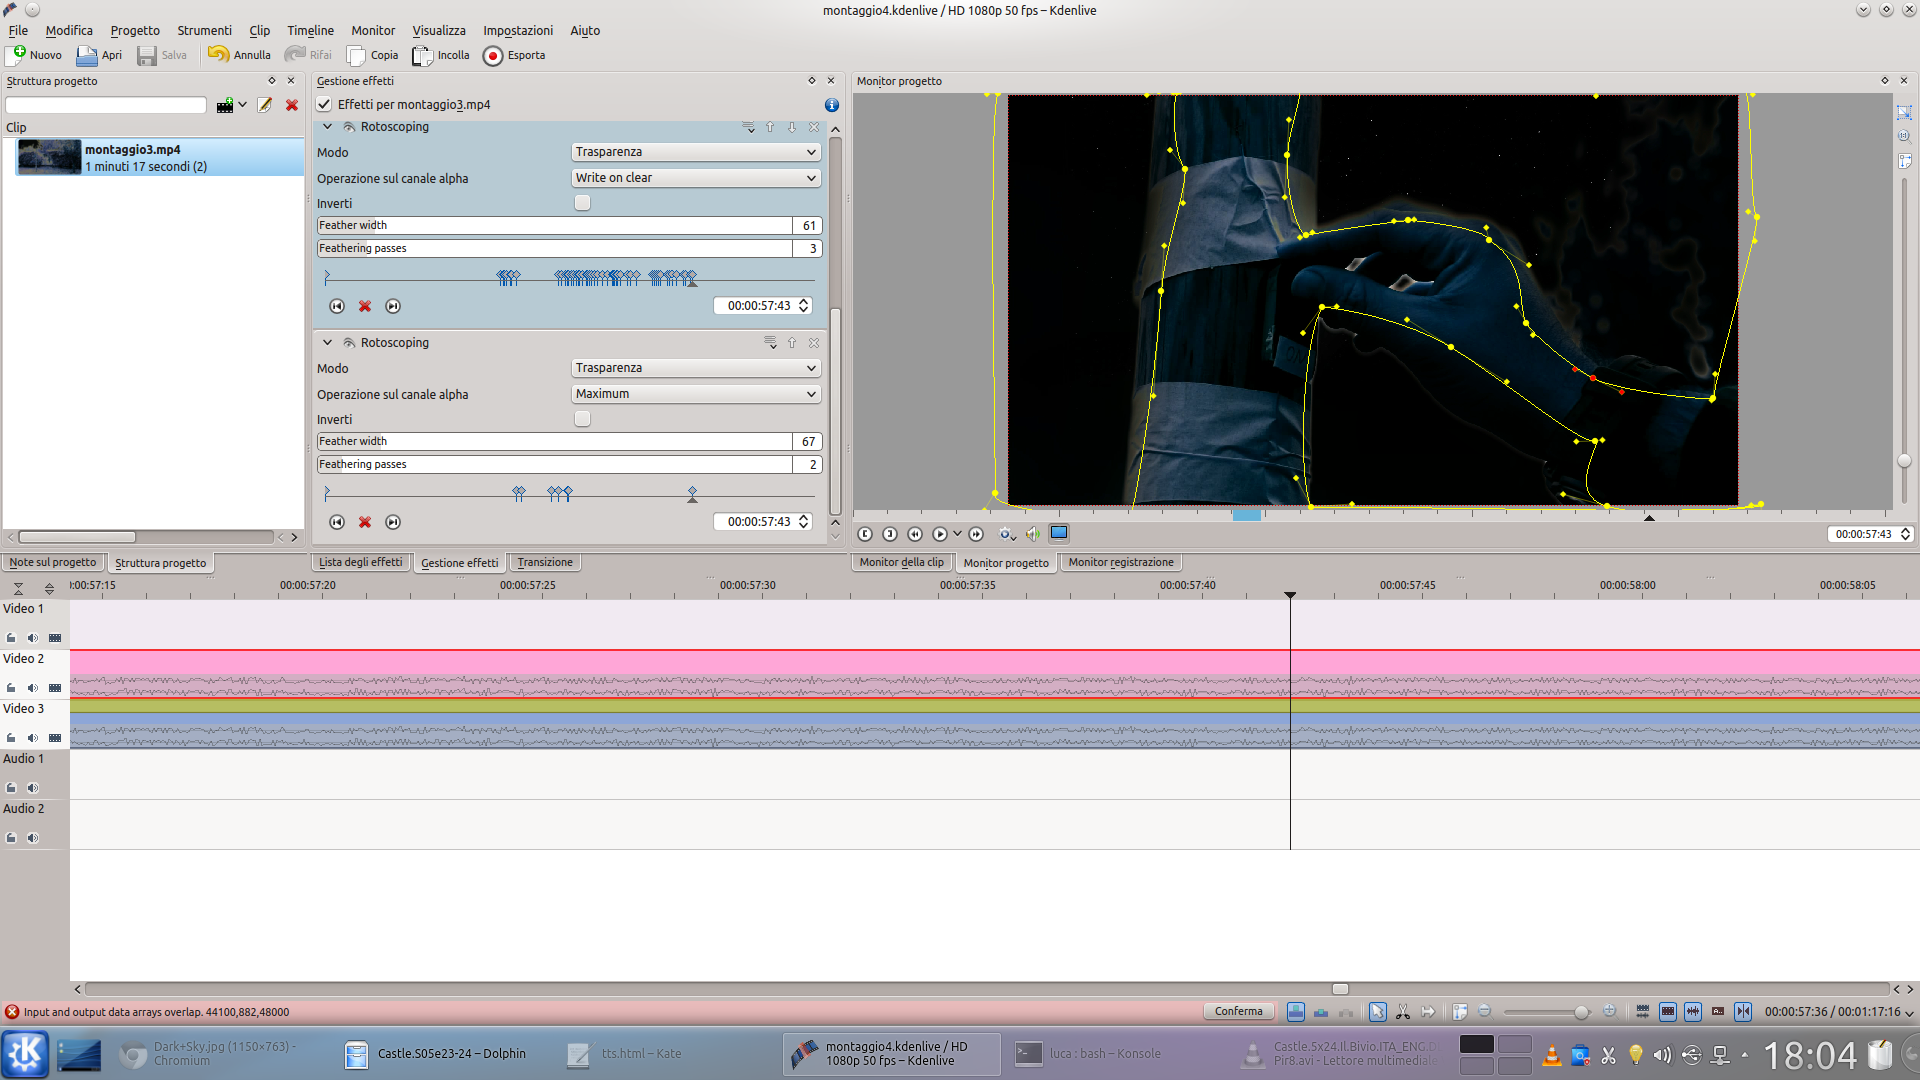 5 FRAME FOR FRAME – We use the rotoscope to make the clip visible Video2 only objects that should appear as close to the camera. It is obviously necessary to create continuous keyframes to follow the movement of the objects.
  6 RENDERING AND CURVES– Then we can render the result into a new file, and use this for editing with the other scenes in our video. Eventually, we can still correct the brightness of the channel Luma and the canal Blue with type effects Bends .

